guides
How to Start a Self-Sufficient Vegetable Garden (2026 Beginner's Guide)
A step-by-step guide to starting a backyard vegetable garden that actually feeds you — site, soil, what to plant first, and mistakes to avoid.
Honest disclosure: Some links below are affiliate links — Glivox earns a commission if you purchase, at no extra cost to you. We pay full price for products we review and rankings are never paid. Read the full policy.

Most “self-sufficient garden” guides skip the boring part and jump straight to dreamy photos of overflowing harvest baskets. This one does the opposite. If you want a backyard vegetable garden that genuinely offsets your grocery bill — not a hobby plot that produces three sad tomatoes and a lot of weeds — the first season is about getting four unglamorous things right: location, soil, water, and crop choice.
We’ve pulled together what consistently works for first-year growers, what reliably fails, and the order to do things in so you don’t waste a planting window. No “miracle system,” no overnight food independence. Just the real path from bare yard to a garden that earns its space.
TL;DR — the honest version
A self-sufficient vegetable garden is realistic for most people with a sunny patch of yard, but “self-sufficient” is a direction, not a switch you flip in year one. Expect your first season to be a learning year that covers part of your vegetable needs — herbs, salad greens, tomatoes, beans, zucchini — and to compound from there as your soil and skills improve.
Buy it if
you have at least 4–6 hours of direct daily sun on some part of your yard, can spend 30–60 minutes a few times a week, and want to start small and scale
Skip it if
you're expecting to replace your entire grocery bill in one season, or your only space gets less than 4 hours of sun
Try instead
Start with a few large containers or a single 4×8 raised bed before committing to a big in-ground plot — it's the cheapest way to learn whether gardening fits your life
Step 1 — Pick the right spot (this decides everything)
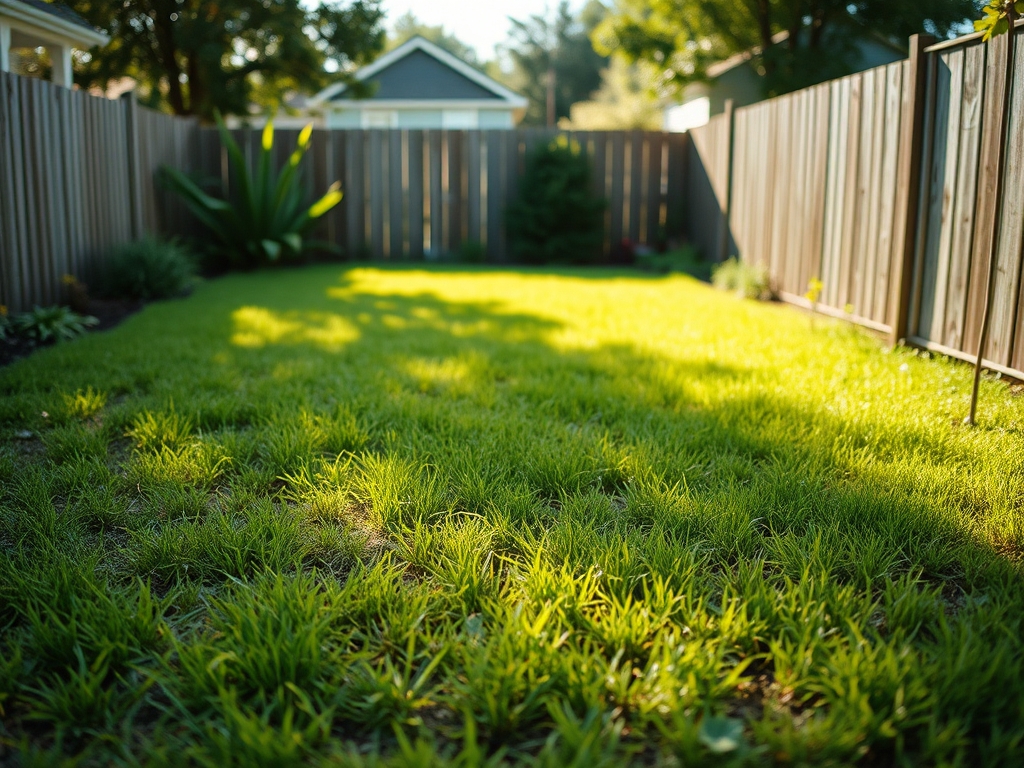
The single biggest predictor of a productive vegetable garden isn’t fancy tools or expensive seeds. It’s sunlight. Most fruiting vegetables — tomatoes, peppers, squash, beans, cucumbers — want 6–8 hours of direct sun per day. Leafy greens and many herbs tolerate less (4–5 hours), which is useful if your yard is partly shaded.
Spend a day actually watching your yard. Note where the sun lands at 9am, noon, and 4pm. The corner that looks bright when you drink your morning coffee may be in full shade by afternoon. Pick the sunniest area you have, and put the garden there — even if it’s not the most convenient spot visually.
Two more site factors that quietly make or break a garden:
- Water access. You will water more than you expect, especially in the first month and through summer. If dragging a hose 30 metres feels annoying now, you’ll skip waterings in July. Put the garden within easy reach of a tap.
- Drainage. Avoid low spots where rain pools for hours. Vegetable roots rot in waterlogged soil. If your only option floods, that’s a strong argument for raised beds (more on that below).
6–8 hrs
Direct daily sun most fruiting vegetables need to produce well
Step 2 — In-ground, raised beds, or containers?
There’s no single right answer — it depends on your soil, budget, and back.
What works
- In-ground: cheapest to start, no materials to buy, easy to expand
- Raised beds: better drainage, fewer weeds, warmer soil earlier in spring, easier on your knees and back
- Containers: work on patios and balconies, total control over soil, easy to move with the sun
What doesn't
- In-ground: you inherit whatever your native soil is — often compacted clay or poor sand that needs years of improvement
- Raised beds: upfront cost for lumber/soil, and they dry out faster in heat
- Containers: dry out fastest of all, limited root space, need frequent feeding
For most beginners with a yard, one 4×8-foot raised bed is the sweet spot for season one. It’s small enough to manage, big enough to grow a meaningful amount, and it sidesteps the slow work of fixing native soil. You fill it with a good soil mix and you’re gardening in an afternoon instead of waiting two seasons for your dirt to improve.
If budget is tight, in-ground is completely valid — humans grew food in the ground for ten thousand years before raised beds existed. Just plan to spend the first year adding organic matter.
Step 3 — Soil is the actual product
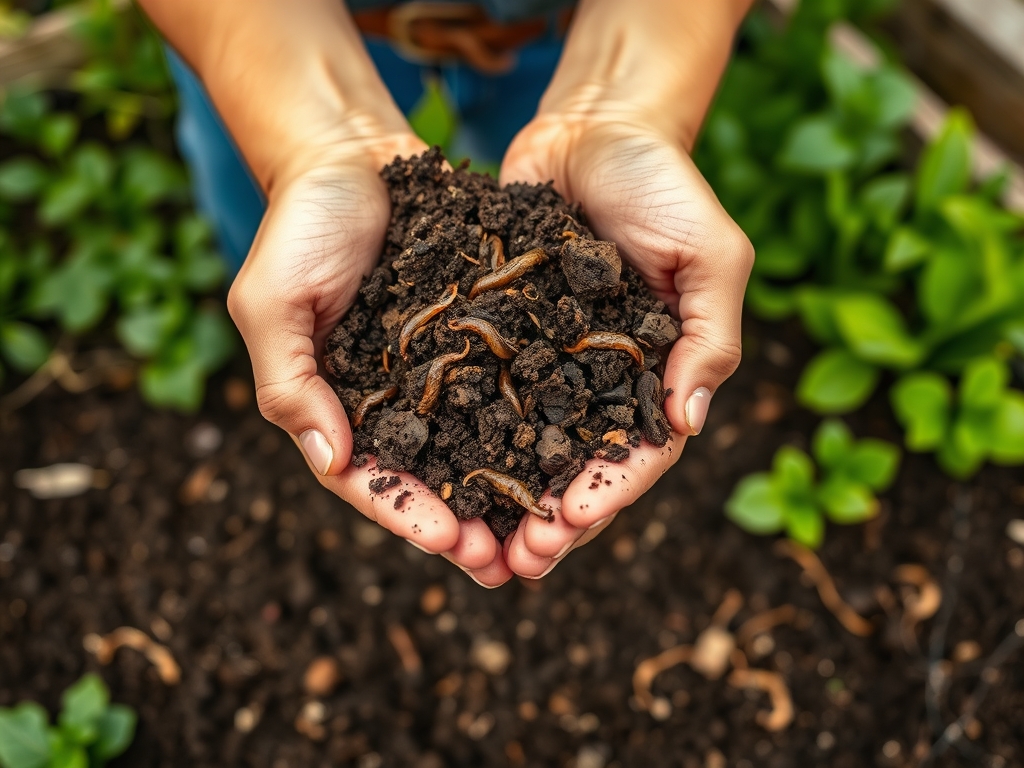
Here’s the mindset shift that separates gardeners who succeed from those who quit: you’re not growing vegetables, you’re growing soil. Healthy, living, well-fed soil grows healthy plants almost on autopilot. Poor soil means you fight pests, disease, and weak growth all season no matter what you plant.
The good news is soil is fixable, and the fix is mostly free or cheap:
- Add compost. Two to three inches of compost worked into the top layer is the highest-return thing you can do. It feeds soil life, improves both drainage and water retention, and supplies slow-release nutrients. Make your own from kitchen scraps and yard waste, or buy it by the bag to start.
- Mulch the surface. A layer of straw, shredded leaves, or wood chips on top of the soil holds moisture, suppresses weeds, and breaks down into more organic matter over time. Mulch is the lazy gardener’s best friend.
- Stop tilling once established. Repeated deep tilling destroys soil structure and the fungal networks that help plants. Loosen compacted ground once at the start if you must, then build up from the top with compost and mulch.
- Test if results are poor. A cheap soil test kit tells you pH and major nutrients. Most vegetables like a slightly acidic to neutral pH (about 6.0–7.0). You usually don’t need this in year one unless plants struggle.
2–3 in
Compost worked into your beds — the single highest-return garden investment
Step 4 — What to plant first (start with wins)
The fastest way to quit gardening is to plant fussy crops that fail and leave you discouraged. The fastest way to stick with it is to grow things that are hard to kill and satisfying to harvest. For a first self-sufficient garden, prioritize crops with a high payoff for the space and effort:
- Leafy greens (lettuce, spinach, kale, chard) — fast, forgiving, and you harvest leaves continuously for weeks. Huge grocery-bill impact because greens are expensive to buy.
- Tomatoes — the classic high-value crop. One healthy plant can produce kilos of fruit. Buy a seedling rather than starting from seed your first year.
- Zucchini / summer squash — almost aggressively productive. Two plants can feed a household (and your neighbours).
- Bush beans — easy, nitrogen-fixing (they improve your soil), and heavy producers.
- Herbs (basil, parsley, mint, chives) — tiny footprint, expensive at the store, and they make everything you cook taste better. Mint is so vigorous it’s best kept in a pot.
What to avoid in year one: large space-hogs with long seasons and finicky needs — think cauliflower, celery, head lettuce, melons, or anything you read needs “careful attention.” Earn your confidence on the easy crops first.
A simple rule: grow what you actually eat. A perfect crop of something your family won’t touch is wasted space. Walk your kitchen, list the vegetables you buy weekly, and grow the easy ones from that list.
Step 5 — Water consistently, not heavily
More first-year vegetables die from inconsistent watering than from drought itself. The pattern that works for most gardens:
- Deep and infrequent beats shallow and daily. Water thoroughly so moisture reaches the root zone, then let the top of the soil dry slightly before the next watering. This trains roots to grow deep and resilient.
- Water in the morning. Leaves dry through the day, which reduces fungal disease. Evening watering leaves foliage damp overnight.
- Mulch does half the work. A good mulch layer dramatically cuts how often you need to water by slowing evaporation.
Seedlings and newly transplanted crops are the exception — they need gentle, frequent moisture until established. As plants mature, taper toward the deep-and-infrequent rhythm.
Step 6 — Plan to scale, season by season
“Self-sufficiency” is the compounding part. You don’t get there in year one — you get there by stacking good seasons:
- Year 1: one bed or a few containers. Learn your climate, your sun, your watering rhythm. Cover part of your vegetable needs and build the habit.
- Year 2: expand beds, start saving seeds from your best plants, add a simple compost system, try succession planting (sowing small batches every few weeks for a continuous harvest).
- Year 3+: season extension (cold frames, row covers), preserving the surplus (freezing, drying, fermenting), and possibly adding perennials like berries, fruit trees, or asparagus that produce for years from one planting.
This is also where structured plans and project guides start to pay off — DIY builds like raised beds, compost bins, greenhouses, trellises, and rainwater collection turn a basic garden into a genuinely self-reliant system. We review those tools and guides elsewhere on Glivox so you can tell the genuinely useful ones from the overhyped.
Common first-year mistakes (and how to dodge them)
What works
- Start small — one well-tended bed beats three neglected ones
- Improve soil before chasing fancy techniques
- Grow easy, high-value crops you actually eat
- Water deeply and consistently; mulch everything
What doesn't
- Planting too much too soon and burning out on the weeding
- Putting the garden in a convenient-but-shady spot
- Ignoring soil and blaming the seeds when plants struggle
- Letting one heatwave with missed waterings wipe out the bed
FAQ
How much space do I need to start a self-sufficient vegetable garden?
Less than you’d think to start, more than you’d think to be fully self-sufficient. A single 4×8-foot raised bed (about 3 square metres) is enough to grow a meaningful amount of greens, tomatoes, herbs, and beans in your first season. True self-sufficiency for a household’s vegetables generally takes a few hundred square metres and several seasons of improving soil and skills — so treat year one as the foundation, not the finish line.
Can I really save money growing my own vegetables?
Yes, but it depends on what you grow. High-value crops that are expensive to buy and productive to grow — leafy greens, herbs, tomatoes, zucchini — offset grocery costs the fastest. Cheap staples like potatoes or onions save less per square metre. The savings also compound: once you own the bed and improve the soil, each following season costs little beyond seeds and compost.
How long until I’m harvesting?
Fast crops reward you quickly. Salad greens and radishes can be ready in 3–5 weeks. Bush beans and zucchini in roughly 7–8 weeks. Tomatoes from a transplanted seedling typically take 8–11 weeks to first ripe fruit. Planting a mix of fast and slow crops gives you early wins while the bigger producers mature.
Do I need to buy special equipment or a “system” to get started?
No. The essentials are a sunny spot, decent soil (or a bed filled with good mix), compost, mulch, water, and a few seedlings. Paid guides and DIY plans can genuinely help once you’re scaling into raised beds, greenhouses, or water collection — but you do not need to buy anything beyond basics to grow food your first season. Be skeptical of any product promising “unlimited food” or “total self-sufficiency overnight.”
What’s the single most important thing for a beginner to get right?
Sunlight, then soil. Put the garden where it gets the most direct sun, and invest your early effort in building healthy soil with compost and mulch. Get those two right and most other beginner mistakes become survivable. Get them wrong and even perfect technique won’t save the season.
Glivox publishes independent, buyer-first guides and reviews for backyard growers and homesteaders. We aim to tell you what actually works — including when a popular product isn’t worth your money.
Keep reading
reviews
Backyard Miracle Farm Review: Is the $39 Food System Worth It? (2026)
Backyard Miracle Farm review: what the $39.69 guide really includes, who it suits, where it oversells, and 3 free alternatives to weigh first.
guides
How to Grow a Year's Worth of Food in a Small Backyard (2026)
A realistic plan for growing serious amounts of food in a small backyard — space-efficient layouts, the highest-yield crops per square foot, and how to stretch the harvest across all four seasons.
guides
How to Start Composting at Home (2026 Beginner's Guide)
Turn kitchen scraps and yard waste into free, rich soil. A beginner's guide to composting at home — what to compost, the simple browns-to-greens method, and how to fix a smelly or slow pile.