guides
How to Preserve Your Vegetable Harvest (2026 Beginner's Guide)
Drowning in tomatoes and zucchini? A beginner's guide to preserving your vegetable harvest — freezing, canning, drying, root storage and fermenting, and which method suits each crop.
Honest disclosure: Some links below are affiliate links — Glivox earns a commission if you purchase, at no extra cost to you. We pay full price for products we review and rankings are never paid. Read the full policy.
There’s a moment every summer when the garden stops being a hobby and starts being a problem. The tomatoes all ripen the same week. The zucchini won’t quit. You’re handing bags of cucumbers to neighbors who’ve started avoiding eye contact. Growing the food turned out to be the easy part — the real skill is not letting it rot on the counter.
That skill is food preservation, and it’s the oldest one in gardening. Long before freezers, people put up their harvest to eat all winter, and the core methods haven’t changed: get the water, air, or temperature working against spoilage instead of for it. You don’t need special talent or a farmhouse kitchen — just a sense of which method fits which vegetable, and a few safety rules that matter. Here’s the beginner’s version.
Five methods, one decision: match the method to the crop
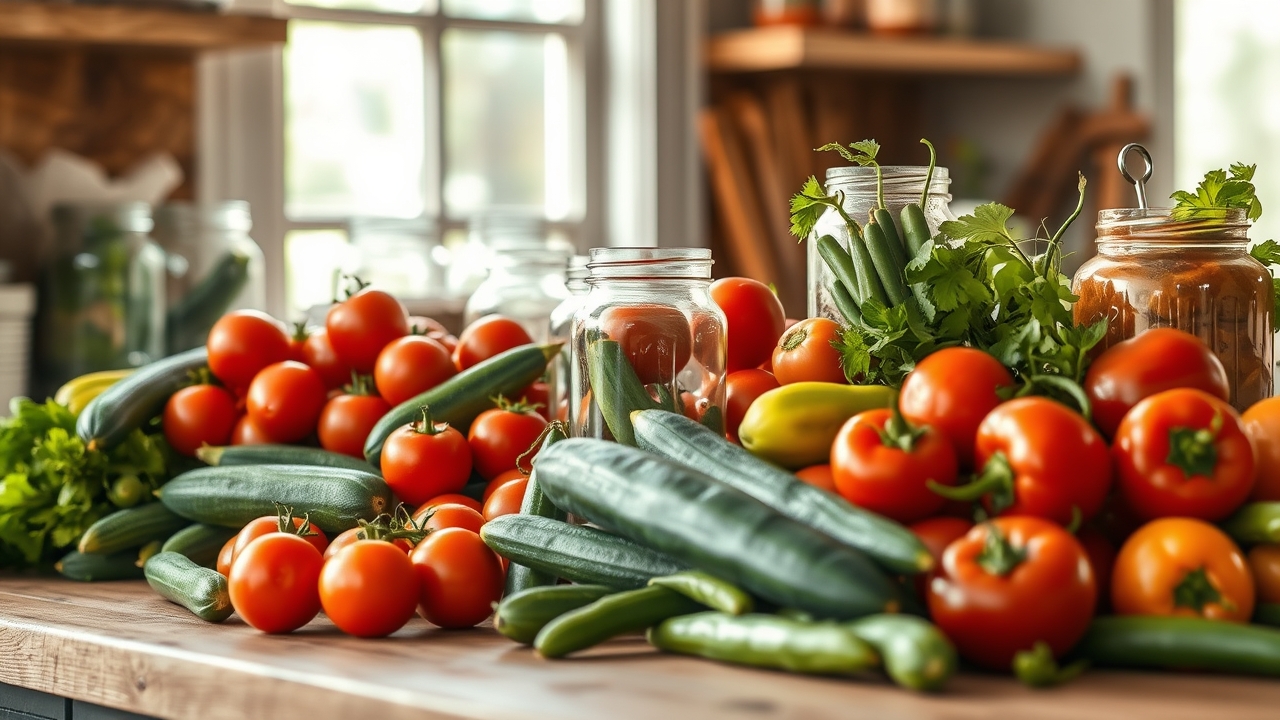
There are five beginner-friendly methods: freezing (fastest and most forgiving), canning (shelf-stable jars, but you must follow tested recipes for safety), drying/dehydrating (great for herbs, tomatoes, peppers, beans), root/cold storage (potatoes, onions, squash, carrots keep for months in the right cool spot), and fermenting (cabbage, cucumbers, and more, using just salt). Match the method to the vegetable, keep everything clean, and label with dates. The single most important safety rule: for canning low-acid vegetables you need a pressure canner and a tested recipe — never improvise.
Buy it if
your garden produces more than you can eat fresh — preserving turns a glut into meals for months and stops waste
Skip it if
nothing, really — even a freezer bag of extra beans beats letting them spoil
Try instead
No time to process? Give the surplus away, or simply freeze it raw where you can (many vegetables freeze fine) and deal with it later
Why preserve instead of just giving it away?
Sharing surplus is lovely, but preserving pays you back all year:
- It closes the self-sufficiency loop. Growing food only cuts the grocery bill if the food doesn’t spoil. Preserving is what turns a summer harvest into winter meals.
- Peak flavor and nutrition, captured. Vegetables preserved at their ripe peak often beat the tired “fresh” produce shipped in during the off-season.
- Almost zero waste. What you can’t preserve (peels, trimmings, the truly spoiled) goes to the compost pile and back into next year’s soil.
- Resilience. A pantry and freezer of your own food is a genuine buffer against price spikes and supply hiccups.
It’s the natural next step after you’ve learned to grow a self-sufficient garden — first you grow it, then you keep it.
The five methods, and what each is good for
1. Freezing — the easiest place to start
Freezing is the most beginner-proof method: fast, forgiving, and it keeps flavor and nutrients well. Most vegetables benefit from a quick blanch first — a brief dip in boiling water, then an ice bath — which stops the enzymes that would otherwise turn frozen veg dull and mushy. Spread pieces on a tray to freeze individually before bagging, and they won’t clump. Best for: beans, peas, broccoli, corn, peppers (peppers don’t even need blanching), and cooked tomato sauce.
2. Canning — shelf-stable, but respect the rules
Canning seals cooked food in jars that keep for a year or more without refrigeration. There are two types, and the difference is a safety matter, not a preference:
- Water-bath canning is for high-acid foods only — tomatoes (with added acid), pickles, jams, most fruit.
- Pressure canning is required for low-acid vegetables — green beans, corn, carrots, squash, anything not acidified — because only the higher temperature of a pressure canner reliably destroys the spores that cause botulism.
This is the one area where you should not freelance. Use current, tested recipes from a trusted source (in the US, the USDA Complete Guide to Home Canning or the Ball canning guides), follow the times and methods exactly, and don’t reuse unproven “family recipes” for low-acid canning. Done by the book, canning is safe and hugely rewarding — our Canning Safety 101 guide walks every rule with the why behind it.
3. Drying / dehydrating — small, light, long-lasting
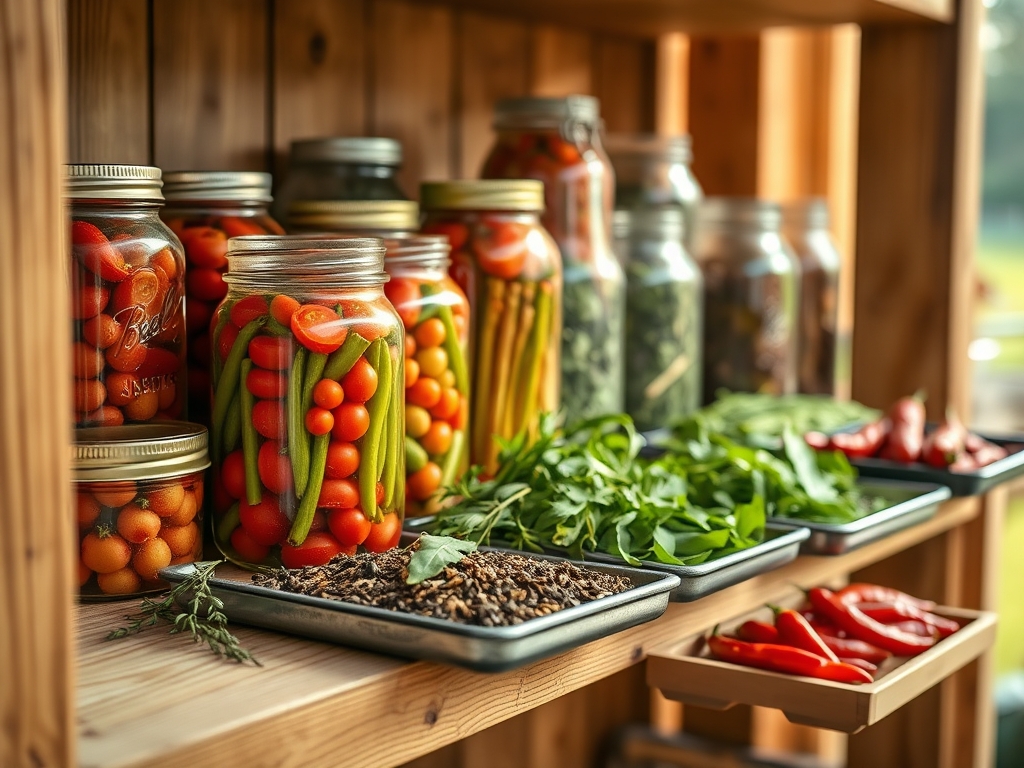
Removing the moisture leaves nothing for spoilage microbes to live on. You can use a dedicated dehydrator, a low oven, a DIY solar dehydrator (free heat all summer), or (in a hot, dry climate) the sun and air. Dried food stores compactly for a long time and rehydrates for soups and stews. Best for: herbs (the easiest win of all — just hang and dry), tomatoes, chili and sweet peppers, beans left to dry on the plant, and fruit. Store thoroughly-dried pieces in airtight jars away from light. We’ve broken the whole method down — air vs. oven vs. dehydrator, and which peppers can hang on a string — in the drying herbs and peppers guide.
4. Root & cold storage — no processing at all
Some crops are built to keep themselves — you just need the right conditions: cool, dark, and with the right humidity. Winter squash and pumpkins keep for months in a cool room. Potatoes, carrots, beets, onions, and garlic store for weeks to months in a cellar, garage, or cool cupboard (onions and garlic want it dry; carrots and potatoes want it cool and humid). A root cellar is the classic tool, but a cool corner, an unheated garage, or even a box of damp sand works for many crops — the full no-basement playbook is in our root cellar without a cellar guide. It’s the ultimate low-effort method — the storage is the preservation.
5. Fermenting — preserve with just salt
Fermenting uses salt and time to let good bacteria preserve the food while creating tangy, probiotic results — sauerkraut from cabbage, classic sour dill pickles, kimchi, and more. It needs no special equipment beyond a jar and salt, and it’s how humans preserved vegetables for thousands of years. Start with a simple salt-brine sauerkraut; it’s remarkably hard to get wrong and teaches you the whole idea — our fermentation beginner’s guide covers the salt math and both classic first projects.
Which method for which vegetable?
You rarely pick a method in the abstract — you have a pile of one thing and need to know what to do with it. A rough guide:
- Tomatoes → can (as sauce/whole, acidified), freeze (as sauce), or dry.
- Zucchini / summer squash → freeze grated (for bread/soups); it’s too watery to can well.
- Green beans → freeze (blanch first) or pressure-can.
- Cucumbers → ferment or water-bath can as pickles.
- Peppers → freeze raw, or dry.
- Winter squash, onions, garlic, potatoes → cold/root storage, no processing.
- Herbs → dry or freeze in oil.
- Cabbage → ferment into sauerkraut, or cold-store whole heads.
0°F / -18°C
Keep a freezer at or below this and most vegetables hold quality for 8–12 months
The simplest way to start today
If it’s all a bit much, do this and you’ve already won:
- Freeze what’s fastest. Wash, chop, blanch (30 seconds to a few minutes depending on the vegetable), plunge into ice water, drain, spread on a tray, freeze, then bag. Label with the contents and date.
- Hang your herbs. Bundle and hang them somewhere warm and airy, or lay them on a tray — the single easiest preservation there is.
- Cold-store the keepers. Cure and stash onions, garlic, and winter squash in a cool, dark spot.
- Compost the rest. Trimmings and anything past saving feed next season’s soil.
Master those, and you can add canning and fermenting when you’re ready to level up.
Common preserving mistakes to avoid
What works
- Blanch most vegetables before freezing — it keeps color, texture and nutrients
- Use current, tested recipes for canning (USDA / Ball) — especially for low-acid veg
- Label everything with contents AND date — you will not remember in January
- Preserve at peak ripeness and freshness; quality out never beats quality in
What doesn't
- Water-bath canning low-acid vegetables (beans, corn) — a real botulism risk; they need pressure canning
- Improvising canning times or reusing untested "family" recipes for low-acid foods
- Freezing vegetables raw and unblanched then wondering why they turn mushy
- Storing not-quite-dry food in jars (residual moisture grows mold)
A note on food safety (read this one)
Most preservation is very safe, but canning has a genuine hazard worth naming plainly: botulism, a rare but serious illness from improperly canned low-acid foods. The whole reason pressure canning and tested recipes exist is to eliminate it. So the rules are simple and non-negotiable: high-acid foods can go in a water bath; low-acid vegetables must be pressure-canned; always follow a current tested recipe; and if a jar’s seal failed, it smells off, or it spurts when opened, throw it out — don’t taste to check. Freezing, drying, cold storage, and fermenting don’t carry this specific risk, which is exactly why they’re the friendliest places for beginners to start.
FAQ
What is the easiest way to preserve vegetables for beginners?
Freezing is the easiest and most forgiving method. For most vegetables, wash and chop them, blanch briefly in boiling water, cool them fast in ice water, drain, and freeze on a tray before bagging so the pieces don’t clump. Label each bag with the contents and date. Drying herbs (just hang or lay them out) and cold-storing keepers like onions, garlic and winter squash are also almost effort-free. Save canning and fermenting for once you’re comfortable — they’re rewarding but have more rules.
Do I have to blanch vegetables before freezing them?
For most vegetables, yes — a quick blanch (a short dip in boiling water followed by an ice bath) stops the natural enzymes that otherwise keep working in the freezer and turn the veg dull, tough, or mushy over time. A few things freeze fine raw, such as peppers and onions, and grated zucchini for baking. Blanching times vary by vegetable and size, so check a reliable chart, but the step itself is quick and makes a real difference to quality months later.
Is home canning safe? What about botulism?
Home canning is safe when you follow tested, current recipes and use the right method for the food. The key rule: high-acid foods (most fruit, pickles, acidified tomatoes) can be water-bath canned, but low-acid vegetables like green beans, corn and carrots must be pressure-canned, because only that higher temperature reliably destroys the spores that cause botulism. Use trusted guides such as the USDA Complete Guide to Home Canning or Ball’s resources, never improvise times or recipes for low-acid foods, and discard any jar that’s unsealed, leaking, or smells off.
How do I store potatoes, onions and squash without a fridge?
These are natural keepers that want cool, dark storage — no processing needed. Cure them first (let onions, garlic and winter squash dry down for a week or two), then store: onions and garlic in a dry, airy, cool spot; potatoes in a cool, dark, slightly humid place (not the fridge, and away from onions); and winter squash in a cool room. A cellar, unheated garage, or cool cupboard all work. Check them occasionally and remove any that start to soften so one bad one doesn’t spoil the rest.
What can I do with too many tomatoes or too much zucchini?
For a tomato glut: make and freeze sauce, dry them, or water-bath can them (with added acid, using a tested recipe). For a zucchini flood: grate and freeze it in meal-sized portions for bread, fritters and soups — it’s too watery to can well, so freezing grated is the go-to. Both also freeze into cooked dishes you can reheat later. And whatever you truly can’t use goes to the compost, so even the excess isn’t wasted.
The garden already did the hard part - preservation is just refusing to waste a victory.
Keep reading
guides
12 Fast-Growing Vegetables to Plant in Summer (30–60 Days)
Started late or want a second harvest? 12 fast-growing vegetables that go from seed to plate in 30–60 days — perfect for summer planting.
guides
How to Start a Self-Sufficient Vegetable Garden (2026 Beginner's Guide)
A step-by-step guide to starting a backyard vegetable garden that actually feeds you — site, soil, what to plant first, and mistakes to avoid.
guides
How to Start Composting at Home (2026 Beginner's Guide)
Turn kitchen scraps and yard waste into free, rich soil. A beginner's guide to composting at home — what to compost, the simple browns-to-greens method, and how to fix a smelly or slow pile.