guides
How to Start Composting at Home (2026 Beginner's Guide)
Turn kitchen scraps and yard waste into free, rich soil. A beginner's guide to composting at home — what to compost, the simple browns-to-greens method, and how to fix a smelly or slow pile.
Honest disclosure: Some links below are affiliate links — Glivox earns a commission if you purchase, at no extra cost to you. We pay full price for products we review and rankings are never paid. Read the full policy.
Composting is the closest thing gardening has to free money. You take the stuff you’d throw away anyway — vegetable peels, coffee grounds, fallen leaves, grass clippings — and a few months later it turns into dark, crumbly, nutrient-rich soil that makes everything you grow healthier. No fertilizer to buy, less waste to the landfill, and the single best thing you can do for your garden’s soil.
It also sounds more complicated than it is. People worry about smells, rats, exact ratios, special equipment. The truth: nature composts everything eventually, and your only job is to nudge it along. Here’s the genuinely simple way to start, whether you have a big yard or just a balcony.
TL;DR — composting in one paragraph
Composting is just decomposition you manage. Mix “browns” (dry carbon — dead leaves, cardboard, straw) with “greens” (wet nitrogen — food scraps, grass, coffee grounds) at roughly 2–3 parts brown to 1 part green, keep it as damp as a wrung-out sponge, and give it air by turning it occasionally. In a few months you get finished compost. Avoid meat, dairy, oily food, and pet waste, and you’ll avoid 90% of smell and pest problems.
Buy it if
you garden (or want to) and throw away food scraps and yard waste — composting turns both into free, premium soil
Skip it if
nothing, really — even apartment dwellers can compost with a small bin or worm bin
Try instead
No space or time? A countertop bin + a local compost drop-off, or a worm bin (vermicomposting) under the sink, both work
Why bother composting?
- Free, premium soil amendment. Finished compost feeds plants, improves any soil’s structure, and holds moisture — store-bought equivalents cost real money.
- Healthier plants. Compost adds life and nutrients to soil, which means stronger plants that resist pests and drought better.
- Less waste. Food scraps and yard trimmings make up a huge share of household trash; composting keeps them out of the landfill (where they’d release methane anyway).
- Better water retention. Compost-rich soil holds water longer — directly easing the summer watering load.
It’s the foundation of a self-sufficient garden: build your soil and everything else gets easier.
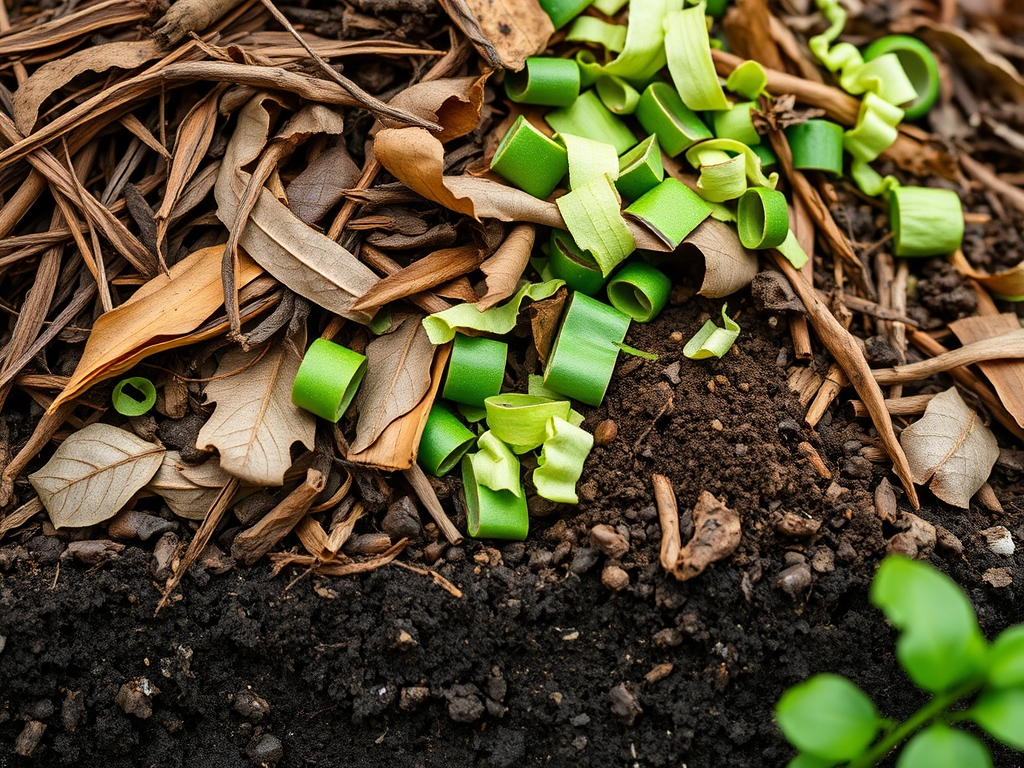
The two ingredients: browns and greens
All composting comes down to balancing two things:
- Browns (carbon) — dry, brown, “dead” material: fallen leaves, shredded cardboard and paper, straw, wood chips, dryer lint, paper towel rolls. These give energy and structure and keep the pile from going slimy.
- Greens (nitrogen) — wet, fresh material: vegetable and fruit scraps, coffee grounds and filters, tea bags, fresh grass clippings, plant trimmings. These feed the microbes that do the work.
Aim for roughly 2–3 parts browns to 1 part greens by volume. Too many greens = a wet, smelly pile. Too many browns = a dry pile that barely breaks down. When in doubt, add more browns — keep a stash of dry leaves or cardboard next to the pile to balance every scoop of food scraps.
2-3 : 1
Browns to greens — the rough ratio that keeps compost working and odor-free
What NOT to compost
Keeping these out prevents almost all odor, pest, and pathogen problems:
- Meat, fish, bones, dairy — they rot, stink, and attract rodents.
- Oily or greasy food, sauces — slows the pile and draws pests.
- Pet waste (dog/cat) — can carry pathogens; not for food-garden compost.
- Diseased plants or weeds gone to seed — you can spread the problem.
- Glossy/coated paper, anything treated — chemicals you don’t want in your soil.
Everyday fruit/veg scraps, coffee, eggshells, leaves, and untreated paper are the safe, easy core.
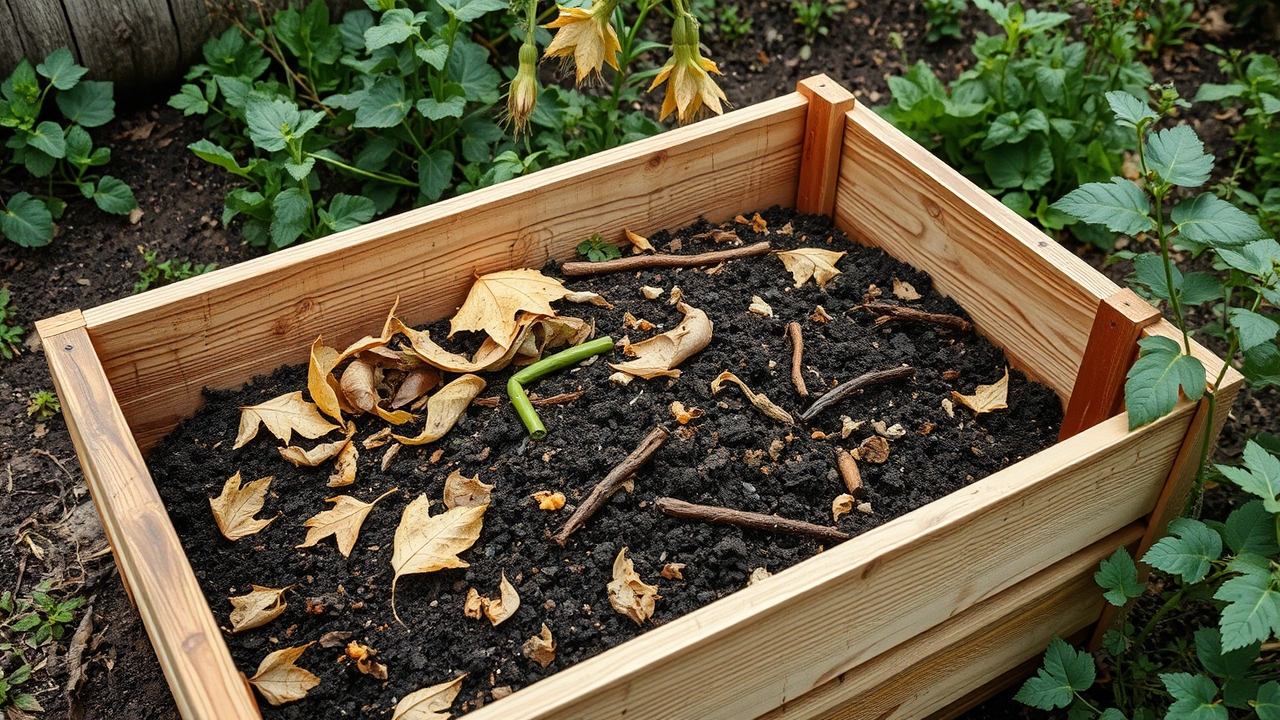
The simple method (start today)
- Pick a spot or bin. A bare-earth corner, a simple wire/wood bin, or a closed compost bin or tumbler. Direct soil contact lets worms and microbes move in; a bin keeps it tidy and critter-resistant.
- Start with a brown layer at the bottom for airflow (twigs, leaves, cardboard).
- Add greens and browns as you go, roughly 1 part green to 2–3 parts brown, burying food scraps under browns each time.
- Keep it moist — like a wrung-out sponge. Too dry: add water or greens. Too wet: add browns and turn.
- Give it air — turn or mix the pile every week or two with a fork. Oxygen is what keeps it sweet-smelling and fast.
- Wait. In a few months (faster in summer heat, slower in winter) the bottom becomes dark, crumbly, earthy-smelling compost.
Hot vs. cold composting
- Cold (passive) composting is the lazy default: pile it up, add as you go, turn occasionally, and let time do the work. Easiest, but slower (6–12 months) and won’t kill weed seeds.
- Hot (active) composting builds a big batch all at once with a good brown:green balance, kept moist and turned regularly. The pile heats up (microbial activity), breaking down in weeks and killing many weed seeds and pathogens. More effort, much faster.
Beginners should start cold — it’s forgiving and almost impossible to truly fail.
Composting in a small space
No yard? You still have options:
- Compost tumbler or small closed bin on a balcony or patio — contained, tidy, rodent-resistant.
- Worm bin (vermicomposting) — a bin of red wigglers under the sink or on a balcony turns food scraps into premium “worm castings”; odorless when done right.
- Countertop bin + local drop-off — collect scraps and take them to a community compost or garden program.
The finished compost is perfect for topping up containers — mix it into potting mix to feed container vegetables, or work it into beds in a small backyard garden.
Fixing common compost problems
What works
- Smelly/rotten: too wet or too many greens → add browns and turn for air
- Not breaking down: too dry or all browns → add greens and water
- Keep a stash of dry leaves/cardboard to balance every batch of scraps
- Bury food scraps under browns to deter flies and critters
What doesn't
- Adding meat, dairy, or oily food (stink + rodents)
- Letting the pile go soggy and airless (turns slimy and sour)
- Never turning it (slow, uneven, anaerobic)
- Composting weeds gone to seed or diseased plants
When is compost ready, and how to use it
Finished compost is dark, crumbly, and smells like fresh earth — you shouldn’t recognize the original scraps. Use it by:
- Mixing into garden beds before planting to enrich the soil.
- Top-dressing around existing plants as a gentle, slow-release feed.
- Blending into potting mix for containers (a few parts mix to one part compost).
- Making “compost tea” or simply spreading a thin layer as mulch.
It’s the single best input for the kind of living, healthy soil that underpins a self-sufficient vegetable garden.
FAQ
How do I start composting for beginners?
Pick a spot or a simple bin, then layer “browns” (dry leaves, cardboard, straw) with “greens” (food scraps, coffee grounds, grass) at about 2–3 parts brown to 1 part green. Keep the pile as damp as a wrung-out sponge, bury food scraps under browns, and turn it every week or two for air. In a few months the bottom turns into dark, crumbly compost. Avoid meat, dairy, and oily food and you’ll sidestep most problems. Starting “cold” (just pile and wait) is the most beginner-proof method.
What can you put in a compost bin?
Greens: fruit and vegetable scraps, coffee grounds and filters, tea bags, fresh grass clippings, and plant trimmings. Browns: dry leaves, shredded cardboard and paper, straw, wood chips, and paper towel rolls. Eggshells are fine too. Keep out meat, fish, bones, dairy, oily or greasy food, pet waste, diseased plants, weeds gone to seed, and glossy or treated paper — those cause odor, pests, or contamination.
Why does my compost smell bad?
A bad smell almost always means the pile is too wet or has too many greens, so it’s gone anaerobic (airless). Fix it by adding plenty of browns (dry leaves, cardboard) to soak up moisture and restore structure, then turn the pile to get oxygen in. Also make sure you’re not adding meat, dairy, or oily food, which stink as they rot. A healthy compost pile smells earthy, not sour or rotten.
How long does compost take?
It depends on method and conditions. Cold (passive) composting — just piling and waiting — typically takes 6–12 months. Hot (active) composting, with a balanced pile kept moist and turned regularly, can finish in a few weeks to a couple of months because the pile heats up and breaks material down fast. Warmth speeds everything up, so compost works faster in summer than winter. It’s ready when it’s dark, crumbly, and smells like soil.
Can I compost without a yard?
Yes. A compost tumbler or small closed bin works on a balcony or patio, and a worm bin (vermicomposting) fits under a sink or in a cupboard, turning scraps into rich worm castings with no smell when maintained properly. If you have no space at all, collect scraps in a countertop bin and take them to a community compost program or a gardening neighbor. The resulting compost is ideal for feeding container plants.
Glivox publishes practical, honest guides for homesteaders and backyard growers — building better soil is where it all starts.
Keep reading
guides
Container Vegetable Gardening: How to Grow Food in Pots (2026 Guide)
No yard? No problem. A practical guide to growing vegetables in containers — which pots, what soil, the best crops for pots, and how to keep container plants watered and thriving through summer.
guides
How to Grow a Year's Worth of Food in a Small Backyard (2026)
A realistic plan for growing serious amounts of food in a small backyard — space-efficient layouts, the highest-yield crops per square foot, and how to stretch the harvest across all four seasons.
guides
How to Start a Self-Sufficient Vegetable Garden (2026 Beginner's Guide)
A step-by-step guide to starting a backyard vegetable garden that actually feeds you — site, soil, what to plant first, and mistakes to avoid.