guides
Worm Composting for Beginners: A Farm in a Tote Box (Even in an Apartment)
Red wigglers turn kitchen scraps into the best fertilizer in gardening, indoors, without smell — the honest setup for $15, feeding rules, and fixes for every gross scenario.
Honest disclosure: Some links below are affiliate links — Glivox earns a commission if you purchase, at no extra cost to you. We pay full price for products we review and rankings are never paid. Read the full policy.
There’s a version of composting for people with no yard, no space for a pile, and no intention of turning anything with a fork: give the job to worms. A plastic tote, a pound of red wigglers, and your vegetable scraps — parked under a sink or in a closet — quietly produces worm castings, which experienced growers treat less like compost and more like a supplement: the stuff is so biologically rich it’s measured out by the handful.
Vermicomposting has a reputation problem (“worms? in my house?”) built entirely on badly-run bins. A properly run bin has no smell beyond forest floor, no escapes, no drama — and it runs all winter, when outdoor piles freeze solid. Here’s the honest starter guide: the $15 setup, the feeding rules that prevent every gross scenario, and the harvest.
TL;DR — the whole system
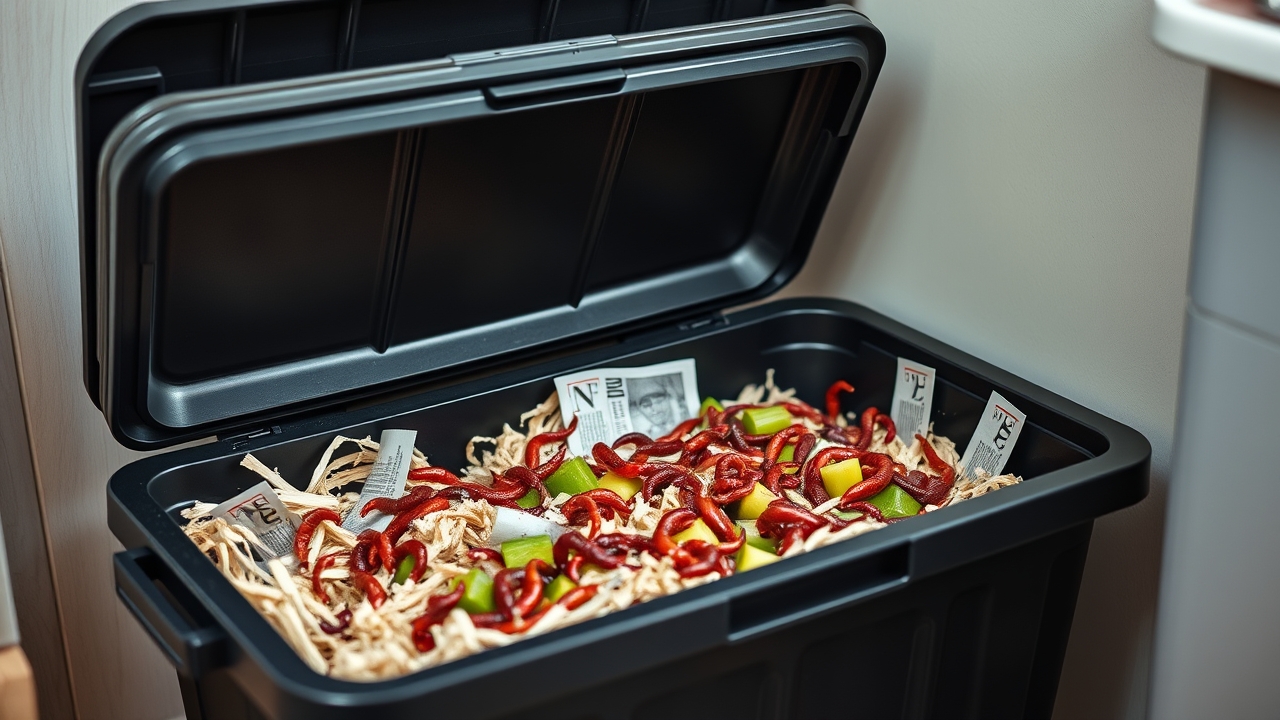
Drill air holes in a dark plastic tote (~40–60 L), fill halfway with damp shredded cardboard/newspaper bedding, add red wiggler worms (Eisenia fetida — composting worms, NOT garden earthworms; ~$30–45 for a starter pound online or free from a local vermicomposter), and bury a small amount of vegetable scraps in a corner. Feed only when the last meal is mostly gone, always buried, always with fresh bedding on top. No meat, dairy, oily food, citrus/onion excess. In 3–6 months: dark, coffee-ground-like castings — the best amendment container gardens ever meet. Space: one bin fits under a sink. Smell: earthy or you’re overfeeding (the fix takes a week). Winter: it’s indoors — the only composting that never stops.
Buy it if
you have kitchen scraps and no yard — or want composting that runs through winter and produces the premium product
Skip it if
processing a whole garden's waste through worms (a bin eats ~250-500 g of scraps a day, not wheelbarrows — the outdoor pile keeps that job)
Try instead
Have a yard AND a kitchen? Run both: pile for bulk garden waste, worm bin for daily kitchen scraps + the castings bonus
The setup ($15 DIY, 30 minutes)
- The bin: an opaque tote, 40–60 L, dark (worms flee light — a clear bin stresses them). Drill ~10 air holes (6 mm) around the upper sides and a few in the lid. Drainage holes in the base + a tray underneath are optional insurance; a rightly-run bin produces almost no liquid.
- Bedding = the browns: shredded plain cardboard and newspaper (no glossy), moistened to wrung-out-sponge damp, fluffed to half-fill the bin. Toss in a handful of garden soil or finished compost — grit worms need for digestion.
- The worms: red wigglers only. Nightcrawlers and garden earthworms are soil-dwellers that die in bins; red wigglers are surface litter-feeders evolved for exactly this. One pound (~1,000 worms) starts a family bin; they self-regulate population to food supply, so you never buy worms twice.
- First feeding, small: a cup of chopped scraps buried in one corner. Lid on, park it somewhere 13–25°C — under-sink, closet, laundry, basement, shaded balcony (freezing and baking are the two killers). Then leave them alone for a week to settle in.
~250-500 g
Daily scrap appetite of an established 1-lb starter bin - a household's kitchen output, not its garden waste. Size expectations accordingly
Feeding rules (all five of them)
- Bury every feeding in a rotating corner, under bedding — exposed food is what breeds fruit flies and smell. This single habit is 80% of clean bin-keeping.
- Feed on demand, not schedule: lift the lid; if the last meal is mostly gone, feed. If not, wait. Overfeeding — food rotting faster than worms eat it — is the cause behind essentially every worm-bin horror story.
- The yes list: vegetable and fruit scraps (chopped smaller = eaten faster), coffee grounds and filters, tea leaves, crushed eggshells (grit + pH buffer), plain rice/pasta in moderation.
- The no list: meat, dairy, oily/salty food (rot, smell, pests), heavy citrus and onion/garlic (acidity and compounds worms avoid), pet waste. Same instincts as the outdoor pile, stricter portions.
- Bedding with every feeding: a fresh handful of dry shredded cardboard balances moisture and carbon automatically — the worm-bin equivalent of the browns-greens ratio, running on autopilot.
Troubleshooting the three gross scenarios (all fixable in a week)
It smells. Not a worm problem — an overfeeding problem: buried food is rotting anaerobically faster than the herd eats. Stop feeding, fork the bedding gently to air it, add dry bedding, resume at half portions in ~10 days. Earthy is the only correct smell.
Fruit flies. Exposed or excess food. Bury feedings properly, freeze scraps overnight before feeding (kills fly eggs arriving on peels — the pro habit), lay a sheet of damp cardboard over the surface as a “blanket,” and the population collapses in two weeks.
Worms climbing the walls. The bin’s only alarm signal: conditions turned hostile — usually too wet (add dry bedding), too acidic (ease citrus, add eggshell), or a new bin settling (give it days, leave a light on nearby the first week; worms avoid lit walls). A balanced bin has zero interest in leaving — food, moisture and darkness are all in there.
The harvest (and why growers treat it like treasure)
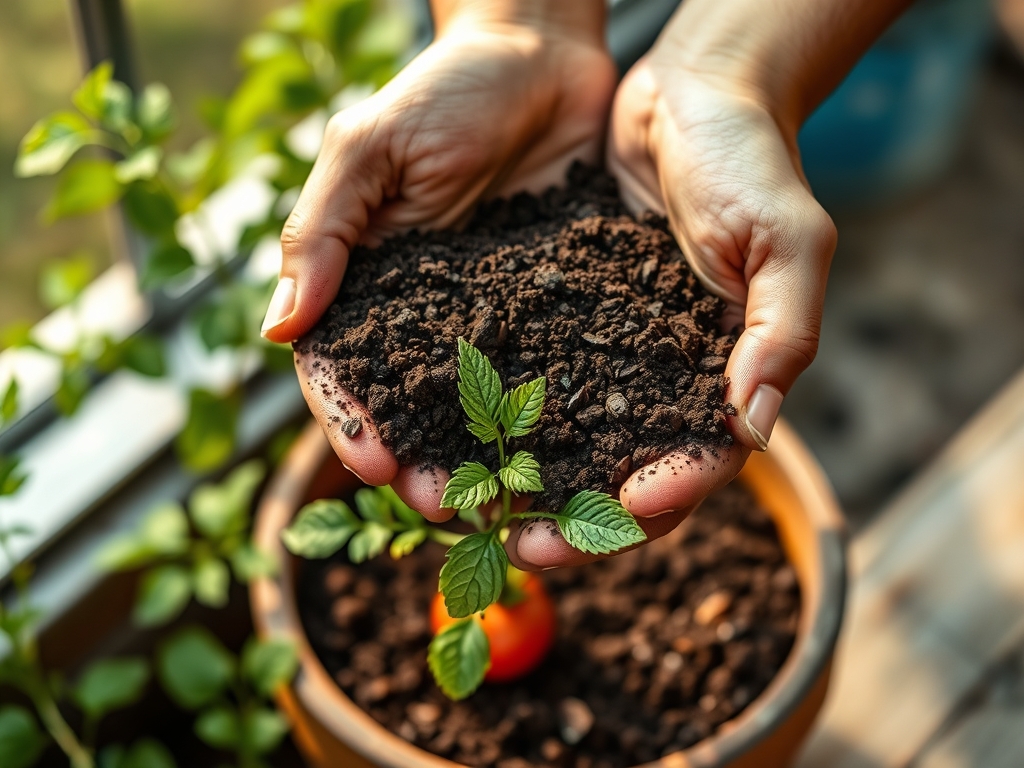
In 3–6 months the bedding side of the bin turns to dark, uniform, coffee-ground castings. Easiest harvest: migrate-and-scoop — push finished material to one side, load fresh bedding and food into the other, wait 2–3 weeks while the worms relocate themselves, scoop the abandoned side. No sorting worms by hand.
Castings are used sparingly because they’re dense with microbial life, gentle slow-release nutrition and plant-growth compounds: a 10–20% blend into potting mix visibly improves container vegetables, a handful in each transplant hole wakes up seedlings, a top-dressing ring feeds heavy feeders mid-season, and steeped in water it makes the classic gentle liquid feed. A single bin won’t fertilize a homestead — it upgrades the highest-value plants: seedlings, containers, the tomatoes.
Quick wins vs. bin-killers
What works
- Red wigglers ONLY - composting worms, not garden earthworms
- Bury every feeding + feed only when the last meal is gone
- Freeze scraps overnight before feeding (ends fruit flies forever)
- Dry bedding handful with every feed - the autopilot balance trick
What doesn't
- Clear bins in bright rooms (stressed worms, stalled bin)
- Scheduled overfeeding ("Tuesday is worm day" - feed on demand instead)
- Meat, dairy and oil in the bin (the origin of every horror story)
- Expecting garden-scale output from a kitchen-scale herd
FAQ
Does a worm compost bin smell indoors?
A properly run bin smells like forest floor — earthy, faint, unnoticeable with the lid on. Bad smells always trace to one cause: more food than the worms can process, rotting anaerobically. The prevention is the two core habits — bury each feeding, and only feed when the previous meal is mostly gone. If smell appears, stop feeding, fluff the bedding for air, add dry shredded cardboard, and resume smaller portions in about ten days. Thousands of bins live under kitchen sinks precisely because this works.
What worms do you use for composting?
Red wigglers (Eisenia fetida) — surface-dwelling litter-feeders that thrive in the shallow, food-rich environment of a bin and process close to half their body weight daily. Garden earthworms and nightcrawlers are deep-soil burrowers that die in bins; never collect yard worms for vermicomposting. A starter pound (~1,000 red wigglers, $30–45 online, often cheaper from local vermicomposters or community gardens) is a one-time purchase — populations self-regulate to the food supply and you’ll eventually give worms away.
How long does worm composting take?
First harvestable castings arrive around 3–6 months from setup, and an established bin settles into a steady rhythm: feed scraps weekly-ish, harvest a few liters of castings every 2–3 months via the migrate-and-scoop method (push finished material to one side, bait the other with fresh bedding and food, let the worms relocate over 2–3 weeks). It’s slower than hot composting but fully hands-off — no turning, no ratios, indoors, year-round, including the winter months when outdoor piles stop cold.
Are worm castings really better than compost?
Different tools, honestly: compost is the bulk soil-builder you apply by the wheelbarrow; castings are the concentrate you apply by the handful. Castings carry denser microbial life, immediately plant-available nutrition, and documented growth benefits at just 10–20% of potting mix — but a kitchen bin only produces liters per season, not cubic meters. The winning setup for most growers is both: an outdoor pile (or no-dig compost habit) for volume, a worm bin turning kitchen scraps into the premium topping for seedlings, containers and transplant holes.
Glivox publishes practical, honest guides for homesteaders and backyard growers — the smallest livestock does the finest work.
Keep reading
guides
Container Vegetable Gardening: How to Grow Food in Pots (2026 Guide)
No yard? No problem. A practical guide to growing vegetables in containers — which pots, what soil, the best crops for pots, and how to keep container plants watered and thriving through summer.
guides
How to Start Composting at Home (2026 Beginner's Guide)
Turn kitchen scraps and yard waste into free, rich soil. A beginner's guide to composting at home — what to compost, the simple browns-to-greens method, and how to fix a smelly or slow pile.
guides
Compost Troubleshooting: Why Your Pile Smells, Stalls, or Crawls (and Every Fix)
Smelly pile? Nothing breaking down? Rats, flies, ants? Every common compost problem diagnosed with its cause and the fix that works — no composting guilt included.