guides
The $35 Rain Barrel: A Trash Can, Five Fittings, One Afternoon
A 32-gallon trash can becomes a working rain barrel with five hardware-store fittings — the parts list with prices, the overflow everyone forgets, and the mosquito rule.
Honest disclosure: Some links below are affiliate links — Glivox earns a commission if you purchase, at no extra cost to you. We pay full price for products we review and rankings are never paid. Read the full policy.
Commercial rain barrels run $80–$200 and are, at heart, a plastic container with a hole near the bottom. A heavy-duty 32-gallon (120 L) trash can is the same container for $25 — and one afternoon with five hardware-store fittings closes the gap entirely. Every rainwater math argument applies at full strength: a modest roof sheds thousands of liters per year, your gutters are already collecting it, and the only missing piece is something under the downspout.
This is the complete build — exact parts with prices, the assembly order, and the three details (overflow, screen, winter) that separate a working system from a mosquito farm with a spigot.
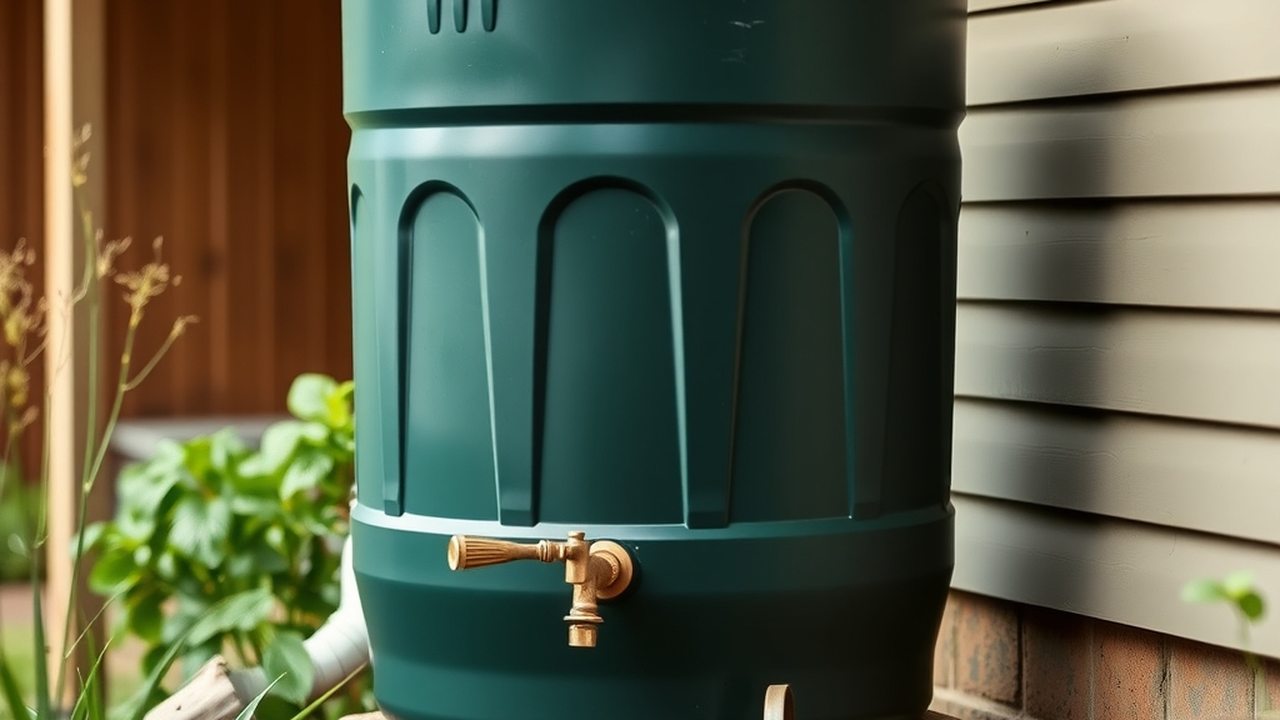
The parts list (hardware store, one trip, ~$35)
- Heavy-duty 32-gal trash can with lid — the thick, flexible rubbery kind (often sold as “brute” style), not brittle bargain plastic that cracks at the first fitting. (~$20–25)
- 3/4″ brass spigot (hose bibb) with male thread — your tap. (~$5–8)
- Two 3/4″ rubber washers + one locknut — the watertight sandwich around the spigot hole. (~$2)
- A square of fiberglass window screen — the mosquito gate. (~$3, or free from a scrap)
- 1.5″–2″ PVC elbow or short hose for the overflow port. (~$3)
Optional upgrades: silicone sealant for insurance on the spigot seal, a second can to daisy-chain later, and a cinder-block or timber stand — which, as you’re about to see, is less optional than it looks.
Two decisions before you drill
Height is pressure. A rain barrel is gravity-fed: the water surface has to be above the outlet for anything to flow, and every 30 cm of extra height adds meaningfully to how fast a watering can fills. A barrel sitting on the ground can’t fill a can under its own spigot at all — so plan the stand now: two courses of cinder blocks (~40 cm) is the classic, sturdy answer. Remember what you’re engineering for: a full 32-gal can weighs ~120 kg. Build the stand level, solid, and on firm ground — a leaning tower of water is the one genuinely dangerous version of this project.
Pick the right downspout. Choose one that drains a big roof section, sits near the beds you actually water, and has room for the barrel plus stand beneath. You’ll cut the downspout later — do it once, at the right spot.
The build, in assembly order
- Spigot hole first. Drill a hole sized to the spigot threads 8–10 cm above the barrel floor — low enough to reach most of the water, high enough that the sludge layer that eventually forms below stays out of your watering can.
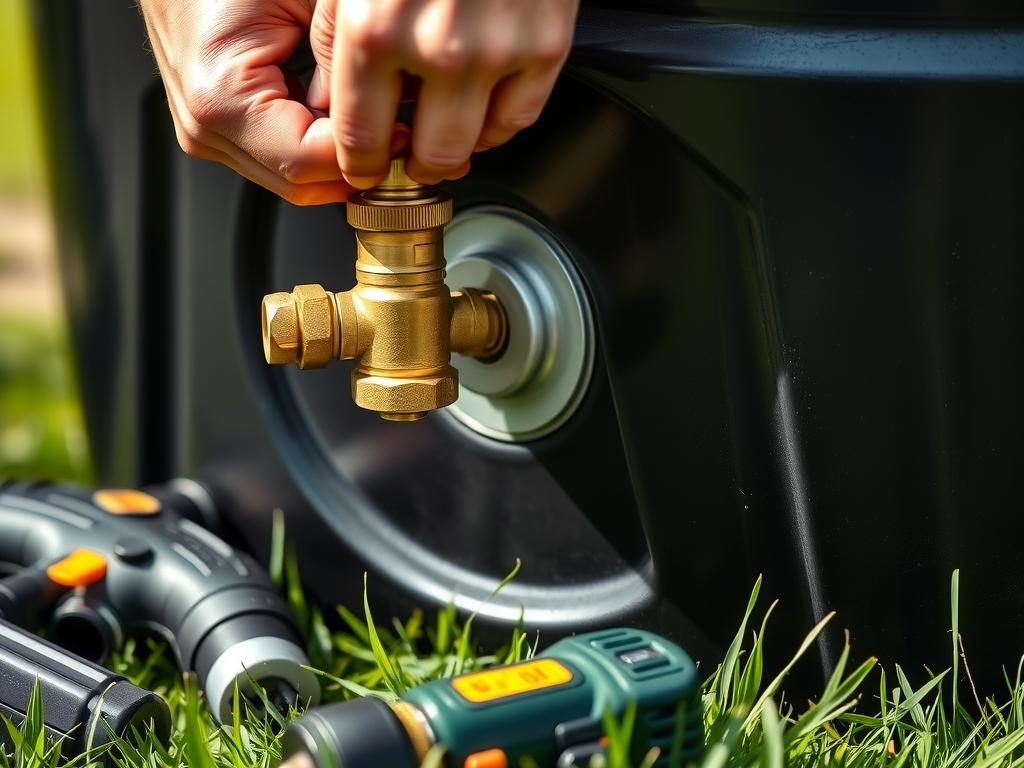
- The washer sandwich. Rubber washer onto the spigot, thread it through the hole, second washer inside, locknut tight — hand-snug plus a quarter turn. A bead of silicone under the outer washer is cheap insurance on a flexible can wall.
- Overflow port near the top. Drill a 1.5–2″ hole a few centimeters below the rim, fit the elbow, and point it — this matters — away from your foundation, ideally into a garden bed or a second barrel. In a real storm the barrel fills in minutes and something must carry the excess; without a planned exit, the overflow pours down your wall. This is the step most first builds skip and every second build includes.
- Cut the lid, screen the hole. Cut an opening in the lid where the downspout will enter, then stretch window screen across it (over the whole underside of the lid is easiest) and clamp or zip-tie it taut. The screen is non-negotiable: standing water breeds mosquitoes in under two weeks; a sealed lid plus screen keeps out mosquitoes, leaves, and the neighborhood’s curious squirrels — and a lidded barrel is also the child-safe version.
- Shorten the downspout and connect. Cut the downspout so it discharges into the screened lid opening (a flexible downspout extension makes the alignment forgiving), set the barrel on its stand, and you’re collecting.
First rain after a dry spell? Let the initial minutes of dirty roof-wash run past if you can (fancy systems automate this “first flush” — with a single barrel, just knowing the first collection is the grubbiest is enough: use it on ornamentals, not the salad).
Using it (and the honest limits)
Garden irrigation is where roof water belongs: untreated rainwater is not drinking water, but tomatoes, flower beds and the compost pile don’t care, and plants mildly prefer it to chlorinated tap. Water at the roots as usual; for a slow soak, a soaker hose will run off the barrel’s gravity pressure if the stand is decently tall.
Scaling up is famously addictive: a second can daisy-chained from the first’s overflow doubles capacity for another $25, and serious setups grow from there toward proper multi-barrel and cistern systems. And in winter, retire the barrel: drain it, disconnect, flip it upside down, and restore the downspout — a full barrel freezing solid will split the can and rip the fittings, undoing your afternoon in one cold night. (People in mild climates can skip this; people who think they’re in mild climates usually get one warning.)
What works
- Five fittings, ~$35, one afternoon - same function as an $150 barrel
- Spigot 8-10cm up (sludge zone below), overflow aimed away from the house
- Screen under the lid is the mosquito rule - two weeks is all they need
- Raise it on blocks: height is your water pressure, 40cm is the sweet spot
What doesn't
- No overflow plan - the storm surplus pours straight down your foundation
- Ground-level barrel, then wondering why nothing flows into the can
- Skipping the screen (a mosquito nursery with a tap by mid-summer)
- Leaving it connected and full through freezing weather
FAQ
How much water can a trash can rain barrel actually collect?
The can holds 32 gallons (~120 L), but the roof supplies far more than that per rain: even 1 cm of rain on a modest 50 m² roof section sheds ~500 L, so the barrel fills in a single decent shower and the overflow handles the rest. Practically, you get a full barrel after almost every rain — a steady 120 L ration between rains for beds, containers and the compost pile. That refill-after-every-rain rhythm is why a second daisy-chained can is the most popular upgrade.
Is rain barrel water safe for a vegetable garden?
For watering the soil, yes — that’s its job. Roof runoff picks up dust, bird droppings and traces from roofing material, so it isn’t drinking water and shouldn’t be sprayed directly onto leafy greens you’ll eat raw close to harvest. Water at the base of plants (better for disease prevention anyway), use the grubbier first collection after long dry spells on ornamentals, and keep the lid screened so the stored water stays clean and mosquito-free.
Why won’t water come out of my rain barrel spigot?
Physics, almost always: gravity flow needs the water surface higher than the spigot outlet, and the flow rate depends on that height difference. A barrel on the ground with a low spigot barely trickles and can’t fill a watering can sitting under it. The fix is elevation — two courses of cinder blocks (~40 cm) transforms the flow. Second suspect: debris clogging the spigot inlet, which is why the spigot goes 8–10 cm above the floor, out of the sediment layer.
What do I do with a rain barrel in winter?
In any climate with real freezes: drain it completely, disconnect from the downspout, reattach the downspout’s original extension, and store the barrel upside down (or indoors). Water expands ~9% when it freezes — a full barrel freezing solid splits plastic walls and shears fittings. The teardown takes ten minutes in November; the spring reinstall takes five. In genuinely frost-free climates it can run year-round — just keep the screen intact, since mosquito season never ends there either.
The gutter was always doing the collecting. The $35 is just you finally putting a bucket under a tap that’s been running for years.
Keep reading
guides
Off-Grid Water Systems for Homesteads: A Realistic 2026 Guide
Rainwater, wells, springs, and air-to-water: the real off-grid homestead water options for 2026 — what each costs, delivers, and where they oversell.
guides
Rainwater Harvesting Basics: From First Barrel to Real Storage
Your roof already collects thousands of gallons a year — you're just not keeping any. The honest starter guide: parts, real math, costs, and the mistakes that breed mosquitoes.
guides
Emergency Water Storage: The 2-Week Supply Every Home Should Have
One gallon per person per day, 14 days, stored right — the honest guide to emergency water: containers ranked by budget, rotation, treatment, and the myths that waste money.