guides
Rainwater Harvesting Basics: From First Barrel to Real Storage
Your roof already collects thousands of gallons a year — you're just not keeping any. The honest starter guide: parts, real math, costs, and the mistakes that breed mosquitoes.
Honest disclosure: Some links below are affiliate links — Glivox earns a commission if you purchase, at no extra cost to you. We pay full price for products we review and rankings are never paid. Read the full policy.
Every time it rains, your roof runs a water-collection operation of genuinely industrial scale — and then pours the entire harvest down the storm drain. An ordinary house roof sheds tens of thousands of liters a year. The gear needed to start keeping some of it: a barrel, a screen, and one honest afternoon.
This is the practical starter guide to rain harvesting — the parts that matter (and the two cheap ones everyone skips), the real collection math for your roof, what it costs at each scale, and the mistakes that turn a rain barrel into a mosquito farm. It’s the hands-on companion to our off-grid water systems overview — that article compares all your water sources; this one builds the rain part.
TL;DR — the whole system in one paragraph
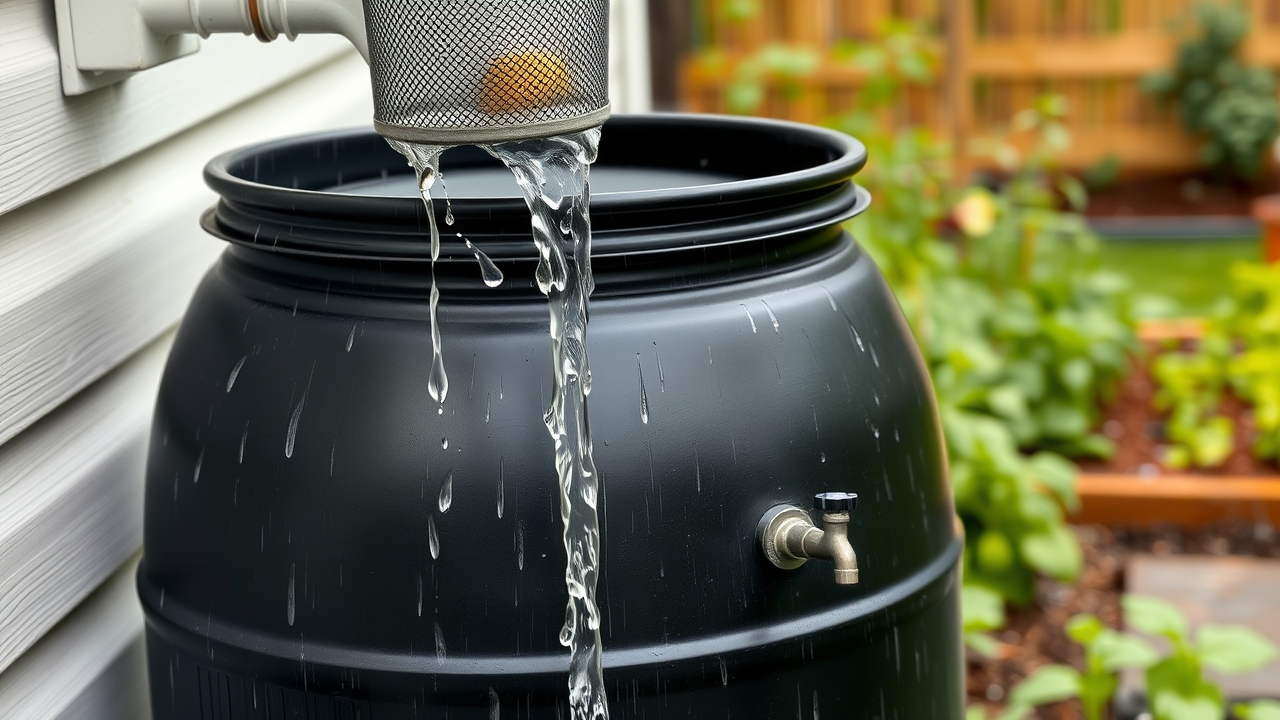
Water runs roof → gutter → downspout. You intercept it with a screened inlet (leaves, mosquitoes), pass the first dirty gallons through a first-flush diverter (a $30 standpipe that discards the roof’s accumulated filth), and store the rest in a covered, dark, overflow-equipped container — a $50–120 barrel to start, a bigger tank when you get serious. Use it unfiltered for the garden — plants prefer it, and a summer vegetable garden will drink every drop you can store. The real math: 1 mm of rain on 1 m² of roof = 1 liter (1 inch on 1,000 sq ft ≈ 620 gallons), so storage — not collection — is always the bottleneck. Drinking it is a separate, more serious project (treatment chain required); watering with it is a first-weekend win.
Buy it if
you have a roof, a gutter, and a garden — a starter barrel pays for itself in one dry season of free irrigation water
Skip it if
drinking untreated barrel water (roof water needs a real treatment chain), or any open-top container (that's a mosquito nursery with extra steps)
Try instead
No gutters? A rain chain into a lidded barrel under a roof valley still harvests a surprising amount — imperfect beats nothing
The parts, in the order the water meets them
- Roof and gutters (you own these already). Metal roofs are the cleanest collectors; asphalt shingle is fine for garden water. Keep gutters clear — the system inherits whatever lives up there.
- Inlet screen (~$5–15, non-negotiable). A fine mesh basket or screen where water enters storage. It keeps out leaves, grit — and mosquitoes, which is why many places that regulate rain barrels regulate exactly this. No screen, no system.
- First-flush diverter ($25–75, the best value in the chain). The first water off a roof in any storm carries most of the accumulated droppings, dust and debris — “roof tea.” A diverter is a simple vertical pipe that fills with that first dirty water and quietly discards it, letting only rinsed-roof water into the tank. Even for garden-only systems it keeps barrels dramatically cleaner and stops the smell that makes people abandon rain harvesting in August.
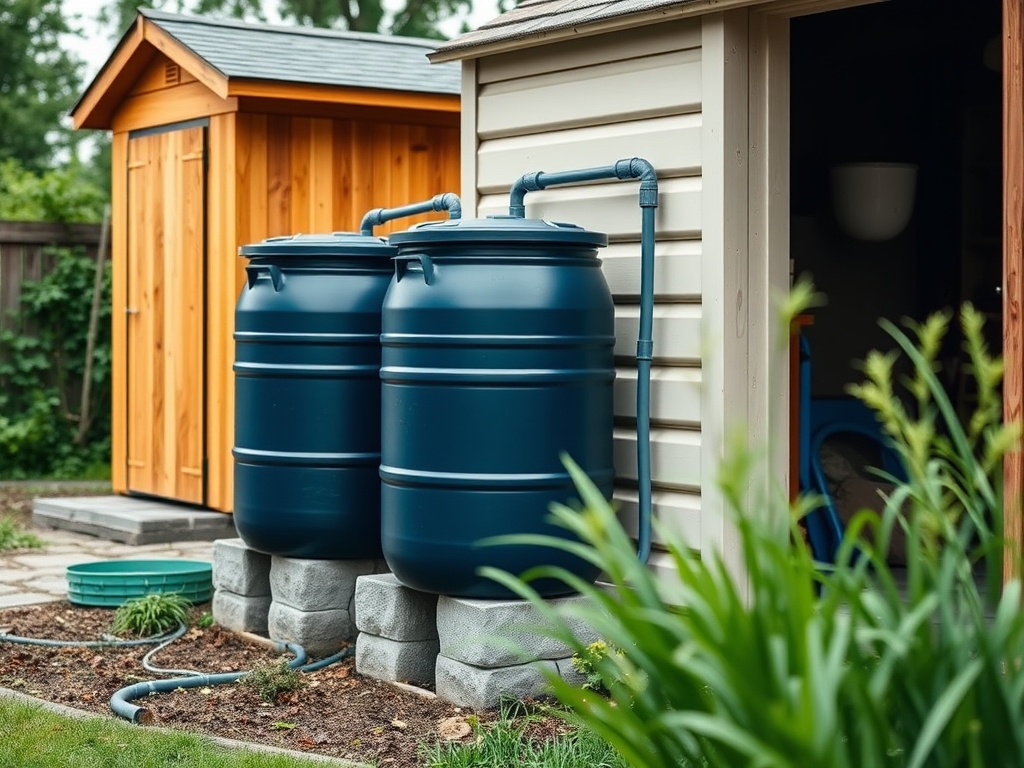
- Storage — the actual decision. A 55-gallon (~200 L) barrel starts most people: $50–120 new with spigot and screened lid, less as a food-grade recycle. IBC totes (~275 gal / 1,000 L) are the homestead workhorse at $100–250 used — cage-protected, stackable, fitting standard plumbing. Real tanks (500+ gal) come after you’ve outgrown everything else. Whatever you choose: dark or opaque (sunlight + water = algae), covered (mosquitoes, kids, drowning risk for wildlife), with an overflow port aimed somewhere useful — a soaker line to a tree beats a foundation puddle.
- A stand ($0–40, the trick nobody mentions). Water leaves a barrel by gravity, and a spigot at ankle height fills nothing. Two courses of concrete blocks buys you watering-can clearance and real hose pressure. Plan the stand before the barrel is full — a full 55-gallon barrel weighs ~200 kg and is not getting lifted.
620 gal
What 1 inch of rain yields from a 1,000 sq ft roof (1 mm on 1 m2 = 1 L) — collection was never the problem; storage is
The math for your actual roof
Take your roof’s footprint (the ground area it covers — slope doesn’t change the catch), multiply by your annual rainfall, and apply the formula above with a 75–85% efficiency haircut for splash, overflow and first-flush losses.
Worked example: a modest 1,200 sq ft roof in a 30-inch-rain climate catches about 22,000 gallons a year — call it 17,000–19,000 usable. Against that, a single 55-gallon barrel looks honestly comical: it fills in the first ten minutes of a real storm and overflows the rest. That’s not a reason to skip the barrel — it’s the reason to understand what a barrel is: a starter kit and a habit-builder, not a water supply. The upgrade path (second barrel → IBC tote → tank) is driven entirely by how much storage you can host, because the sky already delivers more than you can keep.
Two honest sizing rules: match storage to your dry-season gap (how much watering you actually do between rains — for most vegetable gardens that’s 100–400 gallons a week in high summer), and remember rain arrives in bursts while gardens want it in droughts — big storage is what converts one problem into the other’s solution.
What to use it for (and the drinking question)
Straight from the barrel, untreated, rainwater is excellent for: the vegetable garden (no chlorine, ambient temperature, slightly acidic — plants genuinely respond), ornamentals and trees, seed starting, tool and boot washing, and topping compost moisture. That covers the majority of what most households would ever want it for, at zero treatment cost.
What it is not, straight from the barrel, is drinking water — roof runoff carries bird droppings and their bacteria, and no amount of settling fixes biology. Making roof water potable is a solved but real project (first-flush, sediment filter, carbon, then disinfection — boil, UV, or measured chlorine). If your goal is full off-grid supply, weigh rain against wells and hauling in our off-grid water comparison first — and treat “unlimited water from air/nowhere” sales pages with the skepticism our product reviews apply to them. The honest hierarchy: garden first (free win), livestock with basic hygiene, household non-potable if you plumb it, drinking only with a real treatment chain. (And harvested rain doesn’t replace a proper emergency drinking-water store — that job wants sealed food-grade containers of treated water.)
One more honesty note: the “rainwater collecting is illegal” folklore is dead in almost every jurisdiction — most places allow and even rebate residential barrels; a few regulate screening or very large tanks. Five minutes of local checking beats a decade-old forum post.
Maintenance (15 minutes a season)
- Spring: rinse the barrel, check screens for winter damage, re-seat lids.
- Monthly-ish: glance at the inlet screen after big storms; empty the first-flush diverter chamber (most self-drain slowly — verify yours does).
- Mosquito patrol: if you ever see larvae (“wigglers”), a screen has failed — find the gap. A properly screened, lidded barrel breeds nothing.
- Before hard frost: drain the barrel and leave the spigot open, or ice will split seams and fittings — the #1 killer of year-one systems in cold climates.
Quick wins vs. barrel-killers
What works
- Add a first-flush diverter — best $30 in the whole system
- Elevate the barrel on blocks BEFORE it fills (200 kg later)
- Point the overflow at a tree or soaker line, not the foundation
- Size storage to your dry-season watering gap, not to the rainfall total
What doesn't
- Open-top or unscreened containers (mosquito nursery in 10 days)
- Translucent barrels in the sun (algae soup by July)
- Drinking untreated roof water ("it looks clean" is not a treatment chain)
- Forgetting winter drain-down (ice splits the seams and the spigot)
FAQ
How do I start harvesting rainwater at home?
Start with one downspout and one barrel: a 55-gallon covered barrel with a screened inlet, a spigot, and an overflow port, raised on two courses of concrete blocks. Add a first-flush diverter to the downspout so the roof’s first dirty gallons get discarded, aim the overflow somewhere useful, and use the water on your garden. Total cost $80–180 with the diverter, one afternoon of work, no permits needed in most places. Expand to more barrels or an IBC tote once you’re routinely emptying it.
How much rainwater can I collect off my roof?
Use the collection formula: 1 mm of rain on 1 square meter of roof footprint yields 1 liter — in imperial, 1 inch of rain on 1,000 square feet yields about 620 gallons. Multiply your roof’s footprint by annual rainfall, then take 75–85% of that for real-world losses. A typical 1,200 sq ft roof in a 30-inch climate catches roughly 22,000 gallons a year — vastly more than any barrel setup stores, which is why storage capacity, not roof size, is always the limiting factor.
Is rainwater good for vegetable gardens?
It’s arguably the best water a garden can get: free of the chlorine and chloramine in tap water, at ambient temperature (cold tap water shocks summer soil biology), and slightly acidic, which most vegetables prefer. Plants don’t need the water to be potable-grade — untreated barrel water is fine for soil-level watering. Best practice in the vegetable patch: water at the base rather than spraying on leaves you’ll eat raw the same day, standard hygiene for any stored water.
Do I need a first-flush diverter on a rain barrel?
Strictly need? No — screens alone make a functional garden barrel. But the diverter is the highest-value upgrade in the system: the first runoff of every storm carries the majority of the bird droppings, dust and debris off the roof, and discarding those few gallons keeps stored water dramatically cleaner, nearly odorless, and far less prone to the sludge layer that makes people abandon their barrels. At $25–75 with no moving parts to maintain, it’s the difference between a barrel you tolerate and one you expand.
Glivox publishes practical, honest guides for homesteaders and backyard growers — the sky is generous; buckets are the bottleneck.
Keep reading
guides
How to Water a Vegetable Garden in Summer (Without Killing It)
Summer watering makes or breaks a vegetable garden. How much, how often, what time of day, and the watering mistakes that quietly kill plants in the heat — a practical 2026 guide.
guides
Off-Grid Water Systems for Homesteads: A Realistic 2026 Guide
Rainwater, wells, springs, and air-to-water: the real off-grid homestead water options for 2026 — what each costs, delivers, and where they oversell.
comparisons
Water Freedom System vs. Air Fountain: An Honest Comparison of Water-From-Air Guides
Two ClickBank guides promise DIY water from thin air. What atmospheric water generation really delivers, how the two compare, and who should buy neither.