guides
Best Greenhouse for Beginners: Honest Picks by Budget (None Are Sponsored)
From a $30 pop-up to a real polycarbonate kit — which beginner greenhouse actually survives wind, what each tier honestly grows, and the anchoring rule that decides everything.
Honest disclosure: Some links below are affiliate links — Glivox earns a commission if you purchase, at no extra cost to you. We pay full price for products we review and rankings are never paid. Read the full policy.
Every gardener eventually googles “best greenhouse for beginners” — usually in late summer, staring at a fall forecast, wishing the season were longer. What the results serve back is mostly affiliate roundups of whatever pays best, ranked by commission.
This is the other kind of guide. No greenhouse maker pays us; there are no product links in this article. Just the honest tier map — what $30, $150, $400 and $1,000+ actually buy, which one fits which gardener, why most beginner greenhouses die in the first windstorm (and the $20 fix), and the question to answer before the purchase: whether you need a greenhouse at all, or a $25 row cover doing 80% of the job.
TL;DR — the tier map
$25–60 pop-up/shelf greenhouses: genuinely useful as seed-starting shelters and frost buffers, genuinely doomed as structures — plan on 1–3 seasons and always anchor. $100–250 walk-in poly-film tunnels: the honest sweet spot for testing whether greenhouse gardening fits your life — real growing space, film degrades in ~2–4 years, wind is the executioner. $300–700 polycarbonate panel kits: the first tier that behaves like a building — years of service, real heat retention, worth it once you know you’ll use it. $1,000+: for the committed; buy with knowledge from a season in a cheaper tier, not before. Cross-tier truths: anchoring matters more than brand (nearly every “it blew away” review is an anchoring story), ventilation matters more than beginners think (overheating kills more greenhouse plants than frost), and a greenhouse extends seasons — it doesn’t replace the sun in deep winter.
Buy it if
the $100-250 walk-in tunnel if you're testing the hobby, or the $300-700 polycarbonate kit if a season of use has already proven you'll show up
Skip it if
any tier if your real goal is 'a few weeks more lettuce and frost protection' — row covers and cold frames deliver that at a tenth the price
Try instead
Handy with lumber? A DIY cold frame from an old window is the classic zero-cost gateway — and teaches you what you'd actually want in a greenhouse
First, the question the roundups skip: do you need one?
A greenhouse does three things: starts seeds earlier, shelters tender crops at the season’s edges, and (heated or well-insulated) grows through winter. If your actual goal is only the middle one — squeezing more weeks from fall greens and protecting against surprise frost — row covers and cold frames do that for $25–75, no assembly, no wind risk, no real estate. The honest greenhouse case begins when you want space to work in, seed-starting at scale, or genuinely ambitious season extension. If that’s you, pick a tier:
Tier 1 — Pop-ups and shelf greenhouses ($25–60)
The four-shelf plastic-cover towers and zip-front pop-ups. What they honestly are: portable microclimates — excellent for hardening off seedlings, sheltering starts from spring wind, buffering a few degrees of frost. What they are not: durable structures — the covers UV-degrade and zippers fail within 1–3 seasons, and unanchored they’re kites. Buy one knowing it’s semi-disposable shelter for plants-in-pots, weight or stake it always, and it earns its price. Expect more and the reviews write themselves.
Tier 2 — Walk-in poly-film tunnels ($100–250)
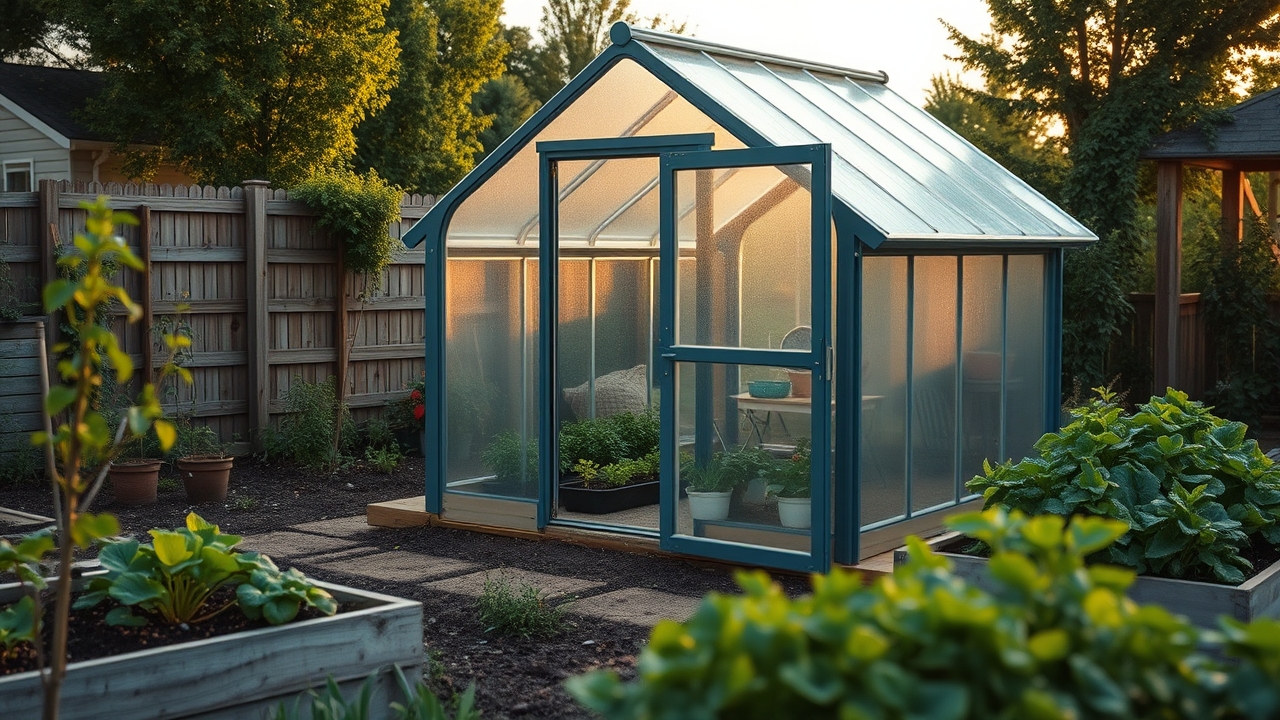
A steel-tube frame under a polyethylene film skin, walk-in height, typically 6×8 ft and up. This is the tier where real greenhouse gardening starts — space for benches, in-ground beds, actual humidity and heat management — at a price that doesn’t punish discovering the hobby isn’t yours. The honest ledger: film skins last 2–4 years of UV before replacement (replacements are cheap), cheap door zippers are the first failure point, and wind is the whole game: this tier’s terrible reviews are almost universally “it collapsed/blew away,” and almost universally an anchoring story. Budget $20–40 extra for real anchoring — ground screws, rebar through the base rails, paver ballast — and install it sheltered from the prevailing wind. Anchored well, this tier converts skeptics.
$20-40
The anchoring budget that decides every budget greenhouse's fate - ground screws and ballast, not the brand name, are what survive the storm
Tier 3 — Polycarbonate panel kits ($300–700)
Twin-wall polycarbonate panels on an aluminum frame — the tier that behaves like a small building. Panels last 10+ years, insulate dramatically better than film (the twin-wall air gap is real R-value), shrug off hail that shreds film, and diffuse light in a way plants prefer. Assembly is a real weekend (hundreds of bolts; the classic advice — assemble on a calm day, two people, don’t tension panels until the frame is square — is earned wisdom). A proper base (timber or paver perimeter, anchored) is non-negotiable and often un-budgeted. This is the “buy once, use for a decade” tier — right for the gardener a season of Tier-2 use has already proven serious.
The two killers nobody budgets for
Wind. Repeated because it decides everything below $700: the difference between a 5-star and 1-star experience with the same product is ground screws. Site it out of the prevailing blast, anchor beyond the included plastic pegs (they’re symbolic), and add ballast mass inside.
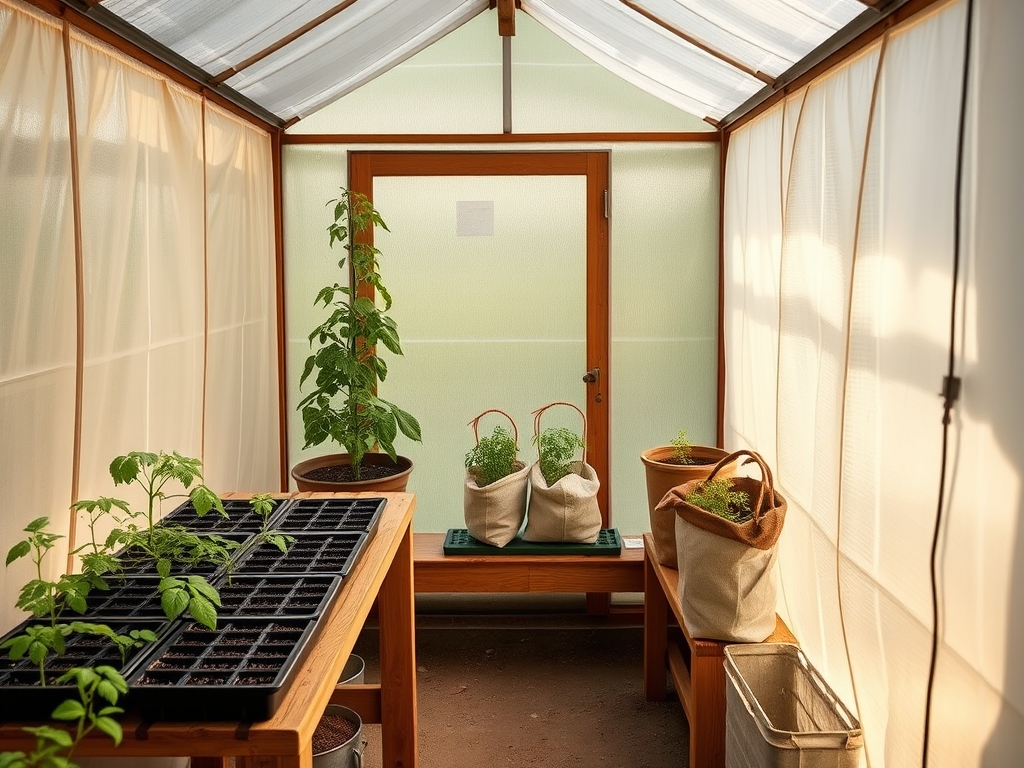
Heat. Beginners fear frost; greenhouses kill with June. A closed greenhouse on a sunny 25°C day passes 45°C by lunch — cooked seedlings are the classic first-year heartbreak. Ventilation is the answer: doors and vents open on any sunny day, automatic vent openers ($20–35, wax-cylinder, no power needed) for the days you’re not home, and shade cloth for high summer. The cheap tunnel with disciplined venting out-grows the premium kit left shut.
Quick wins vs. classic mistakes
What works
- Answer the row-cover question first - it saves most people $200
- Spend the $20-40 on real anchoring the same day you buy ANY tier
- Automatic vent opener - the best $25 a forgetful owner can spend
- Tier 2 to learn, Tier 3 once a season of use proves you show up
What doesn't
- Trusting included plastic pegs ("it blew away" = anchoring, not brand)
- Closed greenhouse on a sunny day (45C by lunch, seedlings cooked)
- Buying the $700 kit to "get serious" before growing a single season
- Expecting December tomatoes from an unheated structure (physics wins)
FAQ
What type of greenhouse is best for a beginner?
For most beginners: a walk-in poly-film tunnel in the $100–250 range — real growing space at a learning-friendly price — upgraded with $20–40 of proper anchoring (ground screws, ballast), sited out of prevailing wind. If you already know you’ll use it for years, skip to a $300–700 twin-wall polycarbonate kit, which insulates better and lasts a decade. And if your actual goal is just frost protection and a few extra weeks of greens, save the money: row covers and cold frames deliver that for under $75.
Are cheap pop-up greenhouses worth it?
Within their honest job description, yes: a $25–60 pop-up or shelf greenhouse is a portable microclimate — excellent for starting seeds, hardening off seedlings, and buffering potted plants against frost. As a structure, no: covers UV-degrade and zippers fail within one to three seasons, and unanchored units end up in the neighbor’s yard. Buy one as semi-disposable plant shelter, always weight or stake it, and it’s money well spent. Expect a durable building and you’ve bought disappointment.
Why do greenhouses blow away and how do I stop it?
Because a greenhouse is a light frame wrapped in a sail, and included anchoring (usually thin plastic pegs) is symbolic. Nearly every “it collapsed in wind” review — and they’re the most common negative review at every budget tier — traces to anchoring and siting. The fix costs $20–40: screw-in ground anchors or rebar through the base rails, paver or water ballast inside, guy lines on exposed sites, and placement sheltered from the prevailing wind. Do this on day one; the first storm doesn’t send a warning.
Can I grow vegetables in a greenhouse all winter?
Unheated, in most temperate climates: you can hold and harvest cold-hardy crops (spinach, kale, salad greens, herbs) through much of winter — growth slows to a crawl in the darkest weeks because light, not just heat, is the limit. What an unheated greenhouse won’t do is grow warm-season crops like tomatoes through winter; that requires heating and often supplemental light, which quickly costs more than the tomatoes. The honest winter play: fall-sown hardy greens, harvested slowly — a fridge you eat from, not a summer garden in December.
Glivox publishes practical, honest guides for homesteaders and backyard growers — no greenhouse maker paid for this ranking, which is why it mentions wind so much.
Keep reading
guides
How to Start a Self-Sufficient Vegetable Garden (2026 Beginner's Guide)
A step-by-step guide to starting a backyard vegetable garden that actually feeds you — site, soil, what to plant first, and mistakes to avoid.
guides
What to Plant in July for a Fall Harvest (2026 Guide)
It's not too late — July is prime time for a second planting. What to sow now for a fall harvest, the frost-date math, and how to get seeds up in hot soil.
guides
Season Extension for Beginners: Row Covers, Cold Frames, and 8 More Weeks of Harvest
Frost doesn't have to end the garden. How row covers, low tunnels and cold frames add weeks or months of harvest — what each really does, and what to build in August.